REQUEST A CONSULTATION

    Snacks to beat the bloat

    Many of us suffer from digestive related intolerances. These foods will battle the bloat.

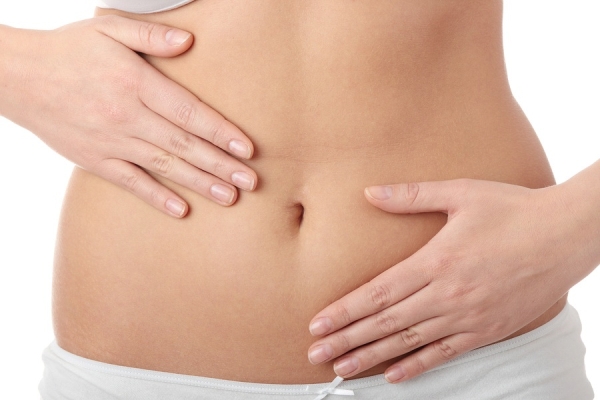
    Over the holiday period we will often indulge in carbohydrate heavy and sugar laden treats, but these often cause digestive discomfort and bloating. That feeling of being heavy with a stretched stomach is one that many of us have experienced at some point, so today we highlight the foods that can help prevent the bloat:

    Foods to avoid the bloat

    Any foods that include a lot of sugar, gluten and starch are likely to make you feel uncomfortable. Foods like: bread, pasta, crisps, and potatoes can make you feel uncomfortable and tired. With sugar filled foods and snacks like chocolates and sweets, your blood sugar levels will hit a high peak causing them to dramatically crash leaving you feeling lethargic and bloated. Fizzy drinks and the favourite Christmas vegetables like Brussel sprouts, cauliflower and broccoli are also culprits of bloating as they can cause trapped wind. Opt for gluten-free alternatives of your favourite treats, and consume lots of water in addition to peppermint or green tea to reduce the bloating.

    Foods to beat bloating

    You can also focus on your diet and eating habits to avoid that overly full feeling you get around the festive period. Try to eat smaller portions more frequently throughout the day rather than eating a lot of food in one go like on Christmas day. Ensure that the meals are nutritional, avoiding gluten and dairy where possible. This will help to suppress hunger and take control of that amount of food and calories you need per day.

    To reduce bloating, you may want to try yogurt drinks like Yakult which contains probiotics to restore the balance within the stomach.

    Snacks that won’t make you bloat

    Cucumber: cucumber is a light and tasty snack that contains a high amount of water thereby keeping you hydrated.

    Asparagus: many beans and legumes can make you bloat, but asparagus is one of the foods that can reduce it.

    Nuts: nuts are a popular Christmas snack, just make sure you opt for non-salted ones and they will keep you feeling full and satisfied for longer.

    The dangers of at-home dermarolling

    When performed in a medical setting, dermarolling can achieve great results.

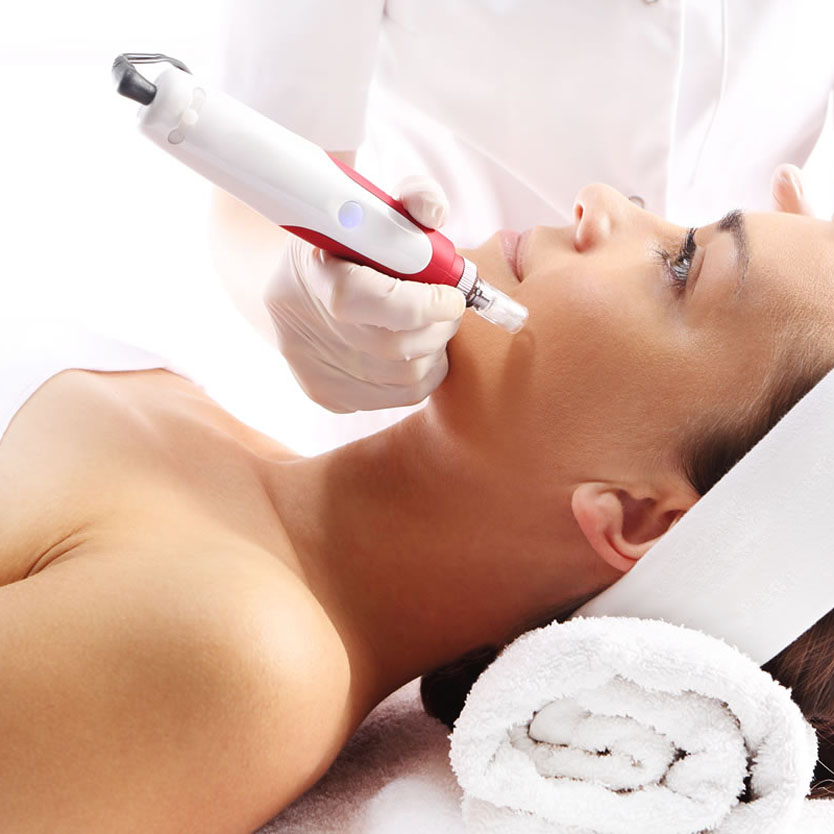
    Dermarolling has become a popular within the world of beauty due to its ability to increase collagen production and improve the texture of the skin by helping to heal acne scarring. The anti-ageing treatment was first developed for the use in clinical settings, but has since become available as an at-home hand held devise.

    Dermarolling treatment

    The process of dermarolling involves rolling the handheld device that usually contains roughly 192 needles over the stratus corneum over a problem area 15-20 times for around 20 minutes. The process is virtually painless, though in a clinical environment topical anaesthetic can be applied. The process creates micro-punctures in the skin which encourages the production of new collagen and reduces the appearance of scars.

    How Dermarolling can go wrong

    In an at home environment, it can be easy to not adhere to the recommended usage guidelines. The devise works by piercing the dermis hundreds of times though it is not meant to damage it. However, if the individual does not roll it horizontally, vertically and in oblique directions, this could cause tearing and dragging of the skin. Some medical clinics use a devise that has a stamping method as to avoid tearing.

    Secondly, in clinics the needles are around 1.5mm, whereas it wouldn’t be advised for beginners at home to use needles longer than 0.25mm to 1.0mm. The trouble is that many at home users get tempted to roll too often (you should spread out the treatments) and get hold of longer needles to try and achieve the best results as quickly as possible. This can cause the skin trauma, and longer needles can sometimes cause pain. With longer needles, you are putting yourself at risk of infection. Furthermore, any product administered to the skin before or after the treatment may be absorbed instantly so you have to be extremely careful with the use of topical products. If possible, avoid using any topical products immediately after rolling as it is difficult to determine which ingredients may cause reactions that are hard to treat since they form below the skin’s surface.

    Then there is the matter of cleanliness… in medical settings the instrument should be used only once, whereas at home you are likely to use the devise several times which can increase the risk of infection.

    At Home Micro-Needling vs Clinical

    Micro-needling stimulates collagen production, working as an anti-ageing treatment.

    As you age, the skin starts to lose its ability to produce collagen and starts to lack elasticity and the ability to regenerate itself. When the skin’s ability to produce collagen decreases, the skin lacks plumpness and bounce. Instead, it starts to look, dry, crepey and saggy. The micro-needling device or derma-roller were designed as a solution to this, to encourage the process of cellular repair. The process helps the skin to stay strong, supple and healthy. In addition, it enables better absorption of topical skincare products.

    A micro-needling treatment works by penetrating the skin with very fine needles on a small hand held device. The skin thereby reacts to these micro-punctures by triggering the skin’s repair response and stimulating growth factors and fibroblasts with the production of collagen.

    Pros and cons of micro-needling at home and in clinic

    The most obvious benefit to performing the treatment at home is its cost. The treatment is ongoing and so the price of this treatment at a professional clinic can sometimes rack up in comparison to the one-off cost of your own micro-needling device. Yet, the process isn’t as simple as it sounds…

    Longer needles give better results, but as the use of them comes with greater risks, they should ideally be handled by a professional. Aestheticians will usually be fully trained on the treatment and how the sizes of the needles can be used to achieve different results. For example, a 0.25mm may be used to treat one concern, whereas a 0.5mm depth will be better suited for another problem. The nurse should have a greater understanding of how the various depths and needles lengths can be used to target different skincare concerns from pigmentation to acne scarring, whereas, a general at home kit used by a novice will likely not achieve as good of an outcome.

    The greatest risk of using at home devices is infection and injury. These risks are greatly minimised in clinical establishments where you can be assured that hygiene is of top priority, and whilst it may be cheaper to have your own device, you should purchase a new one every few months to minimise the risk of infection.

    Though shorter needles in at home dermarollers can help to minimise discomfort, that doesn’t always assure its effectiveness. Many people believe that an at home device means you can perform the treatment more often and will therefore get better results. However, you will get more of a dramatic improvement with longer needles are used within the clinics.

    You may also run the risk of damaging your skin if you treat the skin too frequently. As the needles are smaller on at home devices, you won’t necessarily notice the damage immediately because the punctures are too small, you should wait longer between treatments.  On the other hand, shorter needles mean that your skin will recover faster after each individual treatment (spaced apart) which is how the at home device will provide the most noticeable results.

    Clearing up oily skin

    If you have oily skin you may be tempted to avoid the use of topical products.

    Despite this belief, the opposite can help you clear up the oil production on your complexion. You may feel that by using topical products you will be disrupting your skin’s natural PH balance making your skin even oilier. This is true in some cases. For example, if you use a grainy exfoliator this can irritate your skin and cause it to become inflamed and trigger acne breakouts. Therefore, it’s important to clue yourself up on the best ingredients and steps that can help you keep your oily skin under control once and for all.

    Getting your oily skin under control

    Layering is a great step despite what you may believe. Layering the right products can make the last layer more effective to create a potent force field against oily skin. The top three products, ingredients and treatments for your skin could include:

    Topical Toner and Chemical Skin Peel including Salicylic acid:

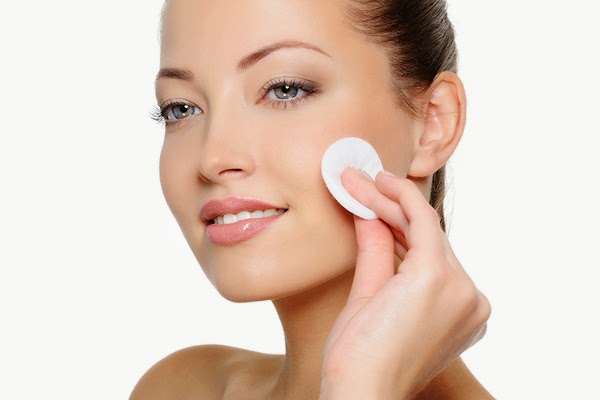
    Toners are often under rated when it comes to dealing with excess sebum, however, they can be highly effective. Opt for a toner with minimal ingredients, but contains Salicylic acid. The acid will gently dissolve dead skin cells and encourage the renewal of fresh healthy skin cells. To boost the effects, you may wish to try a chemical skin peel containing Salicylic acid to help treat Comedonic and Inflammatory Acne.

    Exfoliation and Isolaz: 

    Following a toner, the exfoliation process will help to remove the debris and oil that is clogging the pores and causing breakouts. Stick to an acid based exfoliator to minimise irritation and inflammation. In addition, the Isolaz treatment will extract dirt and lift impurities followed by a purifying laser session. The broadband light will kill any remaining bacteria and slough away the excess oils.

    Moisturiser containing Aloe Vera and Micropen:

    Many people avoid moisturisers when they have oily skin, but they should not be feared. Instead, opt for a reparative moisturiser that is oil-free so it won’t clog up your pores. Try to find one that contains calming and anti-inflammatory ingredients such as aloe vera. Lastly, the Micropen treatment will resurface your skin following any trauma it’s faced such as acne scarring.

    What it really takes to be a hand model

    Becoming a top model is an aspiration among many, but, what does it take to be a top hand model?

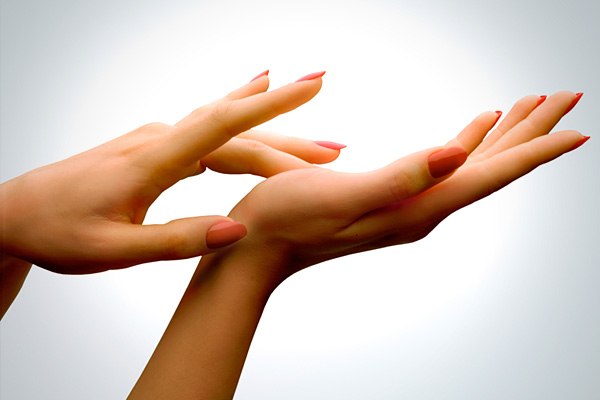
    You see advertisements everywhere, but very rarely do you often pay attention to the hands. Behind every phone and handbag advertisement is a sought after hand model. A well-manicured pair of hands with long nails, fingers and nailbeds may be on the right tracks, but advertisers are very picky about who they select to be a hand model.

    Hand models describe hand castings to be strange and unlike normal model castings. Sometimes, adult’s hands are used for child’s products, and if a pair of hands makes it big time, they can even be insured for a 7 figure sum.

    With this knowledge, a hand model knows all too well that the hands are the first to show signs of ageing. Normal tasks like washing the dishes or scrambling around a handbag for a set of keys involve wearing thick gloves to avoid chipped nails or being exposed to harsh chemicals that may dry out the skin.

    Sometimes, hours spent in contorted and uncomfortable positions are maintained just to get one useable shot. An immense amount of time and resources are used to create a hand shot, and then hours of post-production goes into the photo afterwards. Hand models are also often called in to replace the hands of real models.

    All this work means that a great amount of care must be taken on a daily basis. Anti-ageing solutions are at the forefront of every hand models mind as it will provide them with longevity within the world of hand modelling. Taking care of your hands is good practice for everyone.

    As you get older, you will start to notice that the volume diminishes and veins and bones can become more prominent. The skin also starts to thin, causing the skin to look crepey and blue veins become more pronounced. Lifestyle influences can also have an effect on the hands; we are constantly exposing our hands to sun damage and chemicals which make the hands age prematurely. Age spots become more apparent and so you should ensure you wear a broad spectrum sunscreen on a daily basis.

    There are a number of non-invasive anti-ageing solutions that can reverse and improve the signs of ageing on the hands which include, but are not limited to:

    • Dermal fillers: to replace lost volume
    • Laser resurfacing: will help to fade sunspots and resurface the skin’s texture

    How to get rid of sausage arms

    You’ll know if you have it. It’s time to wave goodbye to the dreaded ‘sausage arms’.

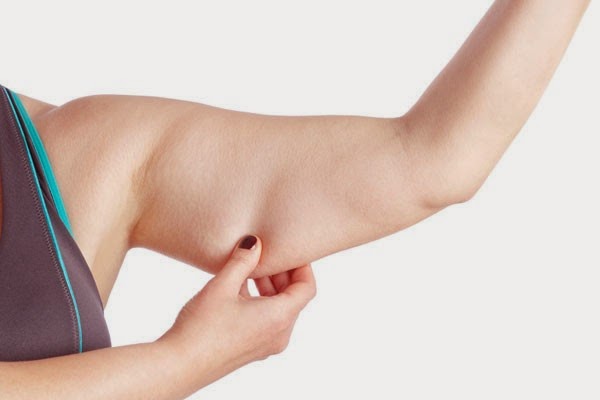
    ‘Sausage arms’ is a term that can be used to describe the outer layer of fat that gives the arms a sausage like appearance. The appearance can be exaggerated when wearing tight or elasticated off-the-shoulder tops which makes the fat bulge at the top. The summer may be over, but it may have drawn your attention to this area of the body that you may have previously been ignoring.

    Getting rid of sausage arms

    Exercise and nutrition

    It goes without saying that an increase in exercise and improvement in nutrition will help you to tone those sausage arms. As the fat is causing the appearance of the bulging, the idea is to lose it. To do this, you need to create a calorie deficit through your nutrition and incorporate high intensity cardio. Once you start to lose the fat, it’s time to start toning the arms with weights and strength training. A combination of both strength training and cardio will help you lose weight even faster.

    Non-surgical

    If you believe that you are not getting anywhere with your fitness and exercise regime, there are a number of non-surgical avenues to explore. Liposuction is a laser treatment which can help to melt the fat and metabolise it within the body safely. In addition, Thermage can tone and tighten the skin to make it look firmer once the fat has been lost.

    Surgery

    If your sausage arms do not seem to be disappearing, Liposuction or an arm lift might be your best solution.

    Liposuction is carried out using an invasive candela extracting method which suctions the fat out. It requires general anaesthesia and so you may be required to stay in hospital overnight. It usually takes around two weeks to make a recovery, but it can take up to six months for swelling to subside.

    An arm lift can help to reduce localised pockets of fat in the upper arm to get rid of the sausage arm appearance. The type of anaesthesia may vary. During the operation the surgeon will choose between three incision types: inside the arm, on the back of the arm or under the arm.

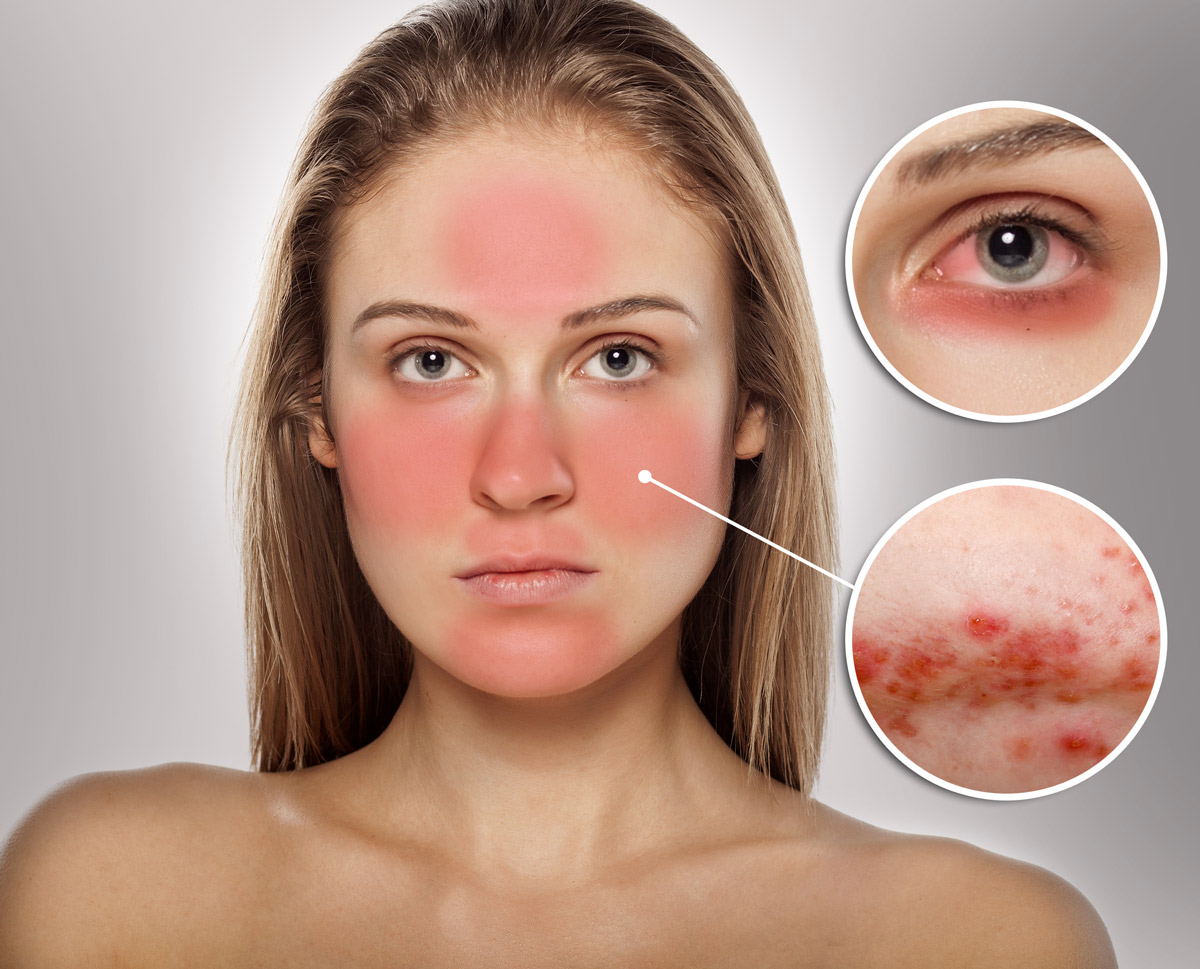
    Is the Weather a Trigger to Your Rosacea?

     Rosacea is a skin condition that makes the skin appear red and inflamed.

    It is a relatively misunderstood long-term condition. Certain factors can trigger flare ups and so it’s important to know what triggers your rosacea to try and avoid relapses. It can be controlled to a certain degree by recognising the triggers, but you also might want to consider further treatment.

    What’s your rosacea trigger?

    The weather

    The weather in the UK can be particularly temperamental which is unfortunate for sufferers of Rosacea since most weather conditions trigger flare ups. Both hot and cold weather, humidity, wind and sunshine can worsen the problem.

    Food and drink

    Rosacea can be triggered by alcohol, spicy and hot (in temperature) foods, hot drinks and alcohol.

    Activities

    Physical exercise or activities that are strenuous. Staying cool with a fan or in an air conditioned environment may help.

    Emotions

    A sudden change in emotion such as embarrassment, anger, or laughter can cause redness. Stress and anxiety can also contribute.

    Other triggers

    Other triggers include: use of irritant skin products, caffeine withdrawal, menopause, and certain use of medications such as topical steroids.

    Treatment

    Avoiding the above will help to control the symptoms. Topical creams and gels can also reduce redness, and oral antibiotics can help reduce inflammation.

    The flushing can be more difficult to treat, but Intense Pulsed Light Therapy may improve the appearance of visible red blood vessels. The heat from the lasers target the visible blood vessels and cause them to shrink so that they are no longer visible.